What you can use in your next clip
- Show one visible task per clip
- Keep controls, cursor and result readable
- Review the export on a small screen
Jump to the section you need
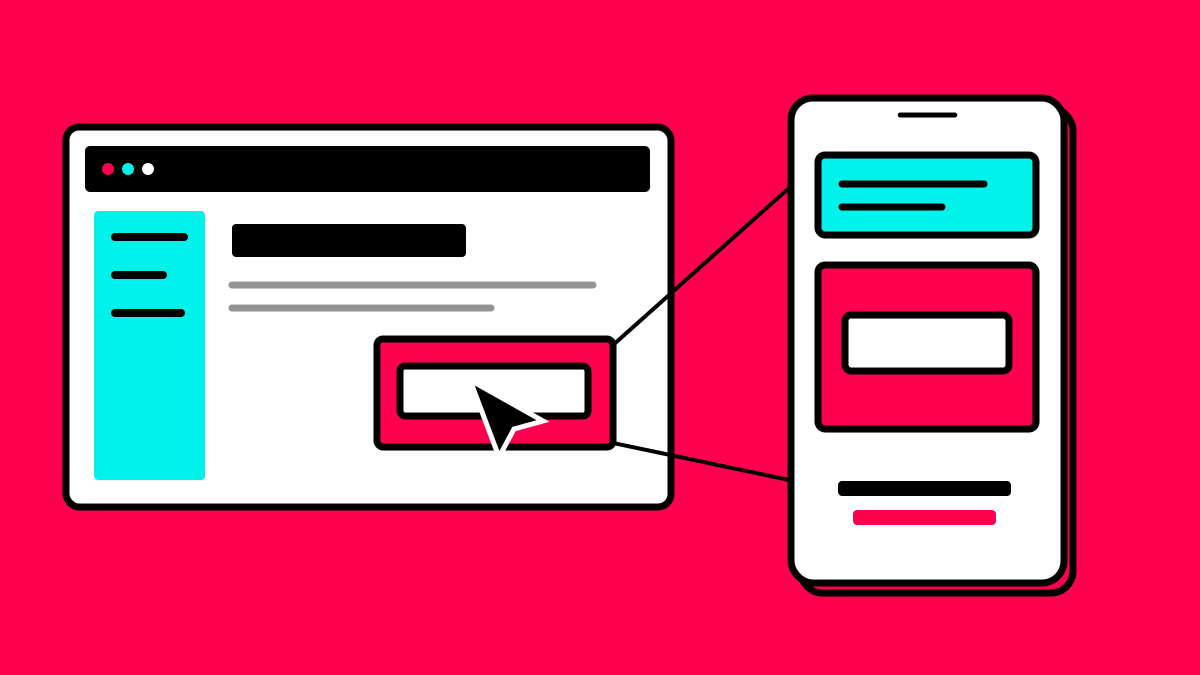
A screen recording can look clear on a desktop monitor and become unusable in a vertical video. The pointer disappears, buttons become tiny and captions cover the very click you are explaining. A useful software clip therefore starts before recording: with one task and an interface that makes that task visible. A tighter crop afterwards cannot replace this preparation.
Our continuing example is fictional: in an invented task app called “Projectboard”, someone needs to assign an open task to a responsible person. The clip shows only that operation. Every name and project detail is sample data. The example illustrates editing decisions, not a measured customer result.
1. Define the visible result before the first click
Write the sentence your viewer should be able to say afterwards: “I can assign a task to a responsible person.” That is more useful than “I understand Projectboard.” Remove features that the result does not require. Our example needs neither an account setup walkthrough nor a tour of every available project view.
Plan three visible states: an unassigned task, the open selection menu and the task with a person assigned. Those states form the story. A possible opening is: “This task has no owner yet. Here is how to assign one.” The final frame must actually deliver the result promised by that opening.
2. Prepare the interface for a narrow screen
Enlarge important interface text in the application or browser before recording, then check that every required control remains accessible. Close irrelevant sidebars, extra windows and unnecessary browser tabs. Use sample data instead of real customer names. Make a brief test recording before delivering the complete spoken explanation.
- Show only the window or area needed for this task.
- Keep the task title, selection menu and final result in approximately the same area.
- Check expanded menus: they may extend beyond the intended composition.
- Remove notifications and information that should not appear in the clip.
In our example, the task card sits centrally and the irrelevant project list is collapsed. This is deliberate preparation of the source, not a claim that the editor will automatically rearrange your interface.
3. Give the pointer a route the viewer can follow
A restless pointer creates movement without explaining a process. Move it directly towards the required field, pause briefly and then click. Leave the open menu visible before selecting an item. The viewer needs to understand both the click and the new state it creates, rather than merely spotting a flash of activity.
Projectboard needs three deliberate movements: towards assignment, towards the chosen name and back to the completed card. Avoid circling the pointer while talking. If your recording software supports a clearer pointer appearance, prepare it there. PodViral does not automatically replace a missing or barely visible pointer in your source with a highlighted one.
From the idea to the finished clip
One step the viewer can actually see.
Cut a complete action from your screen recording and check the exported result on a phone.
- 1Open the screen recording in the editor
- 2Select one complete task
- 3Check the framing and export the clip
The editor has no freely positioned zoom keyframes. Prepare essential image details in your source.
4. Cut around interface states, not just speech pauses
Open the recording in PodViral’s manual editor and mark a start before the explanation of the initial state. Set the end only after the assignment is visibly confirmed. Start and end values can be adjusted in increments of 0.1 seconds. Play the complete selection: a clean sentence cut can still remove the crucial menu.
Our fictional editing note selects 12.4 to 38.8 seconds, retaining the starting state, action and result. These timestamps are not a recommended duration for every demo. Multiple marked ranges produce individual clips; they do not promise to reconstruct scattered interface actions into a newly assembled, seamless tutorial.
💡If a long loading pause interrupts your only understandable recording, consider recording the operation again. Do not remove a technical step in a way that misrepresents how the process actually works.
5. Check what actually survives the 9:16 composition
Choose a style that keeps the necessary interface visible. A layout intended for a speaking face is not automatically suitable for a software demonstration. Inspect the selection menu and final status particularly carefully. If either falls outside the visible area, the demonstration is incomplete even when its visual treatment looks appealing.
Adjust the original recording when necessary and test another style. Do not plan around freely placed zoom keyframes following the pointer: the manual editor controls your clip boundaries; prepare the required composition when recording. Readability needs to come from suitable source material and an appropriate layout.
For further composition decisions, read the guide to vertical video framing.
6. Separate narration, interface labels and captions
Your voice explains the action; the interface shows where it happens. You do not need to duplicate every visible label in an additional headline. In our example, “Choose a person for this task” is clearer than reading out every name in the menu. That leaves space for the operation.
Choose captions that remain readable without covering the essential field. Check technical terms and product names in the finished result. If the interface and captions constantly overlap, change the recording or style. Making text smaller is not a useful fix if it makes the explanation unreadable on a phone.
For caption choices, use the readable subtitle styles guide.
7. Ask someone unfamiliar with the task to explain it back
Review the exported clip on a phone at an ordinary viewing size. Do not compensate by opening an enlarged desktop preview. Ask someone who does not know the process: what was the problem, which control was used, and how can you tell it worked? An incorrect answer identifies a moment that needs more time or a clearer image.
- Without sound: can you identify the starting state, click and result?
- With sound: does the explanation line up with the visible action?
- At the end: does the assigned person remain visible long enough?
- Before publishing: are the names, labels and demonstrated operation correct?
For the final file check, also use the upload and export checklist.
Start with this one understandable operation in the manual editor. Expand it into a series only once it works independently. Each additional clip needs its own visible result.
From the idea to the finished clip
One step the viewer can actually see.
Cut a complete action from your screen recording and check the exported result on a phone.
- 1Open the screen recording in the editor
- 2Select one complete task
- 3Check the framing and export the clip
The editor has no freely positioned zoom keyframes. Prepare essential image details in your source.